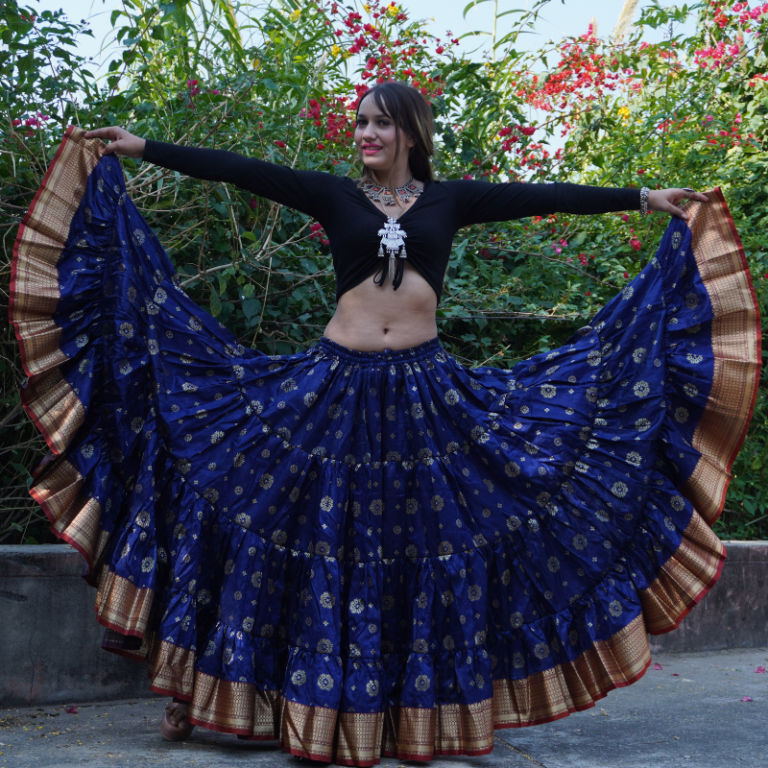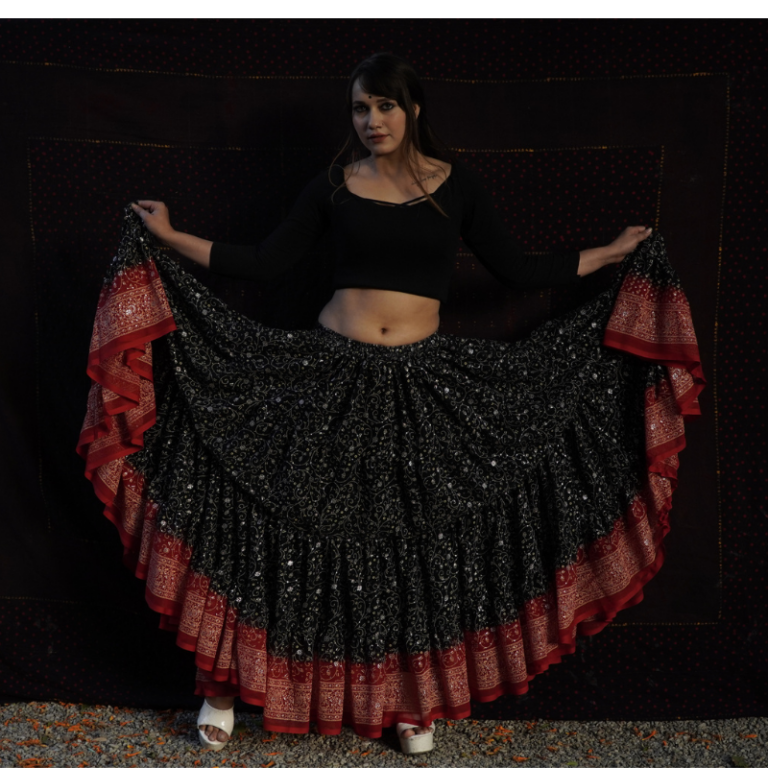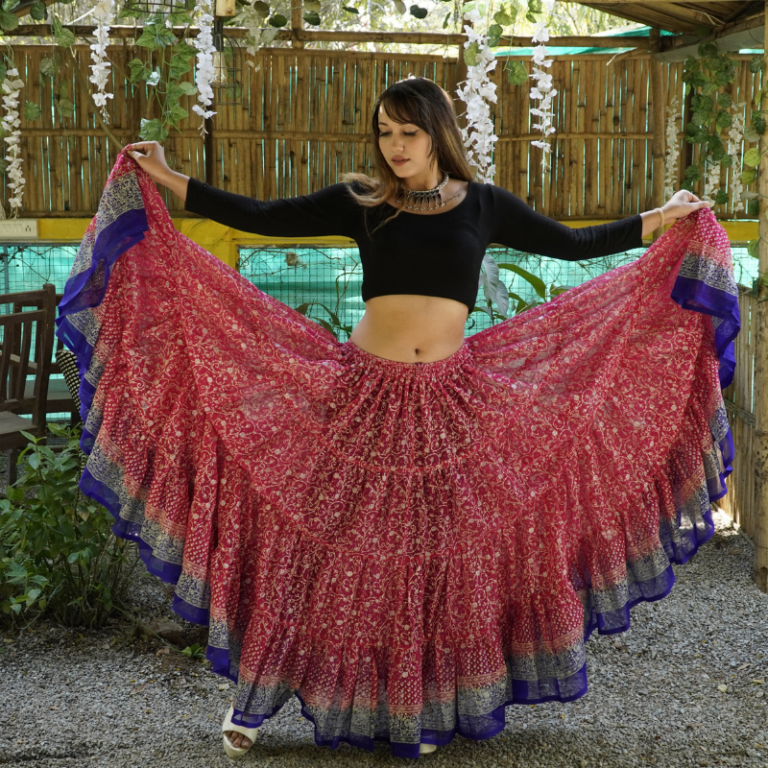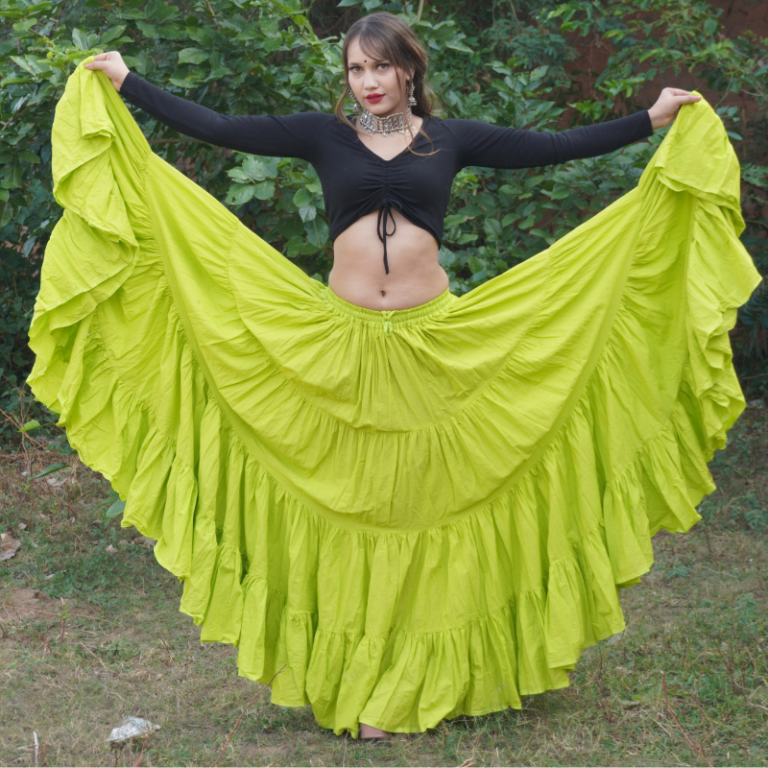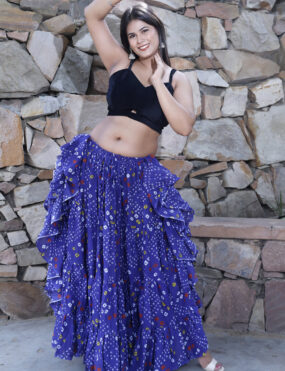
Making a 25-yard skirt, traditionally known as a lehenga or sari-style skirt, is an intricate and rewarding project. The key is to have enough fabric (approximately 25 yards) and the proper techniques to assemble the skirt in a way that drapes beautifully. Here’s a step-by-step guide on how to make a 25-yard skirt.
Materials You Will Need:
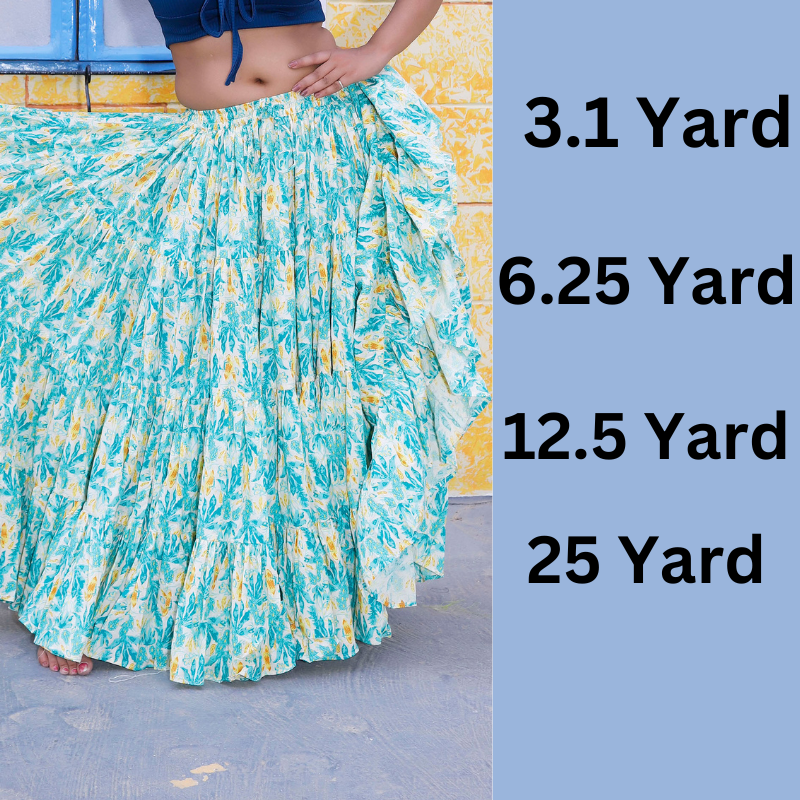
- Fabric: 25 yards of fabric (cotton, silk, chiffon, georgette, etc., depending on the look you want) The width of the fabric should be around 44–45 inches (standard width), but you can adjust according to your preference.
- Thread: Matching thread to sew the fabric.
- Sewing Machine: For faster and neater stitching.
- Measuring Tape: To measure fabric and waist size.
- Scissors: For cutting the fabric.
- Pins: For holding fabric together before sewing.
- Elastic Band or Zipper: For securing the waist.
- Embroidery (optional): For decoration, if you want to add embellishments like sequins, beads, or embroidery.
- Iron: To press the fabric and remove wrinkles.
- Lining Fabric (optional): For additional structure and comfort.
Step-by-Step Guide to Making a 25-Yard Skirt:
Step 1: Choose the Fabric
- Select the fabric based on the occasion and look you want to achieve. Light fabrics like chiffon, georgette, or silk give a flowing look, while cotton gives a more structured appearance. Consider your comfort and the drape of the fabric.
Step 2: Measuring the Waist and Length
- Waist Measurement: Measure around your waist, where the skirt will sit. The waist measurement will help you determine the size of the waistband.
- Length of the Skirt: Measure from your waist to your desired skirt length (floor length, ankle length, or calf length). Add a little extra length for hemming.
Step 3: Cutting the Fabric
- Divide the 25 yards of fabric into manageable pieces, typically around 5 to 7 yards per section.
- For a traditional 25-yard skirt, you’ll need to pleat or gather the fabric, which is done by cutting it into long, uniform strips. You will be folding or gathering the fabric in sections as you go.
Step 4: Preparing the Waistband
- Cut a strip of fabric for the waistband. The waistband can be made with the same fabric or a contrasting one, depending on your preference.
- The length of the waistband should be the waist measurement plus a few extra inches for overlap (typically around 2-3 inches). The width should be around 2 to 3 inches, depending on how thick you want the waistband to be.
- If you’re using an elastic band, cut it to match your waist measurement and sew it into the waistband fabric.
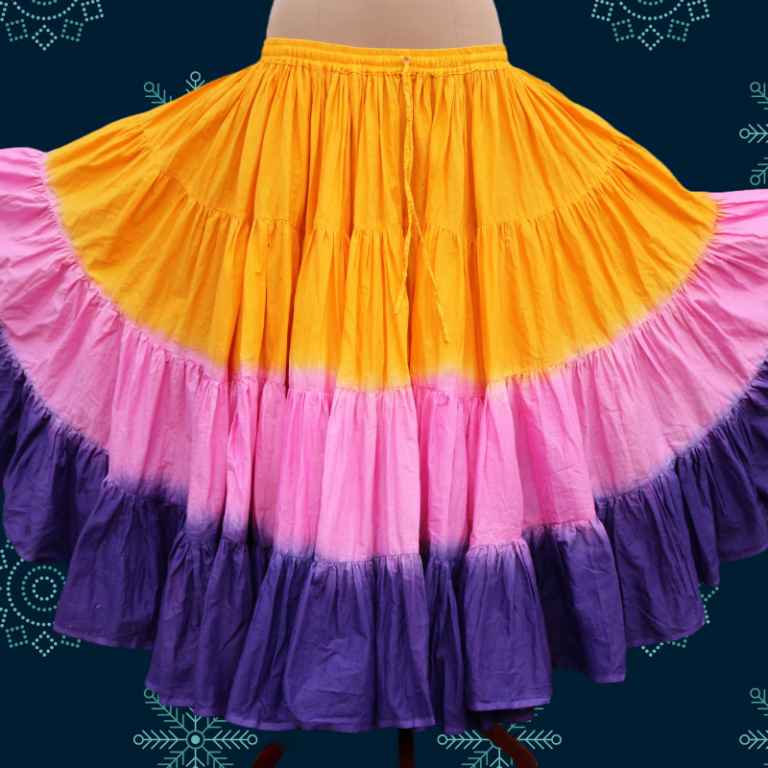
Step 5: Pleating or Gathering the Skirt
- Pleating: This step involves folding the fabric in small, even pleats. The pleats should be of uniform size and direction. Pin the pleats down and sew them in place, creating a structured look.
- Gathering: If you prefer a more flowing, less structured design, you can gather the fabric. To gather, sew a long, loose stitch along the top edge of each fabric strip, then pull the thread to create small pleats or gathers.
- Once all sections are gathered or pleated, sew them together along the top edge, leaving enough room for the waistband.
Step 6: Attaching the Waistband
- Fold the waistband fabric in half lengthwise, then pin or sew it to the top of the gathered or pleated fabric. Ensure that the gathers or pleats are evenly distributed across the waistband.
- If you’re using elastic, sew it into the waistband before attaching it to the skirt fabric.
- Attach the waistband securely, and make sure the fabric is comfortably fitted around your waist.
Step 7: Hemming the Skirt
- Once the waistband is attached, it’s time to hem the bottom of the skirt. Fold the bottom edge of the fabric inward to avoid fraying and sew it neatly.
- If you have extra length, you can make a decorative hem or leave it for a floor-sweeping look.
Step 8: Adding Embellishments (Optional)
- To enhance the skirt, you can add embroidery, sequins, beads, or other decorative elements. You can hand-embroider designs onto the fabric, or use a machine to add a patterned design.
- Some 25-yard skirts also feature contrasting borders or decorative elements at the hem.
Step 9: Final Touches
- After sewing the skirt, press it with an iron to remove any wrinkles and ensure the pleats and gathers are crisp and neat.
- If you used a zipper or button for closure, make sure it is properly fastened and secure.